ETA App Selfie Rejected: How to Pass the Face Check
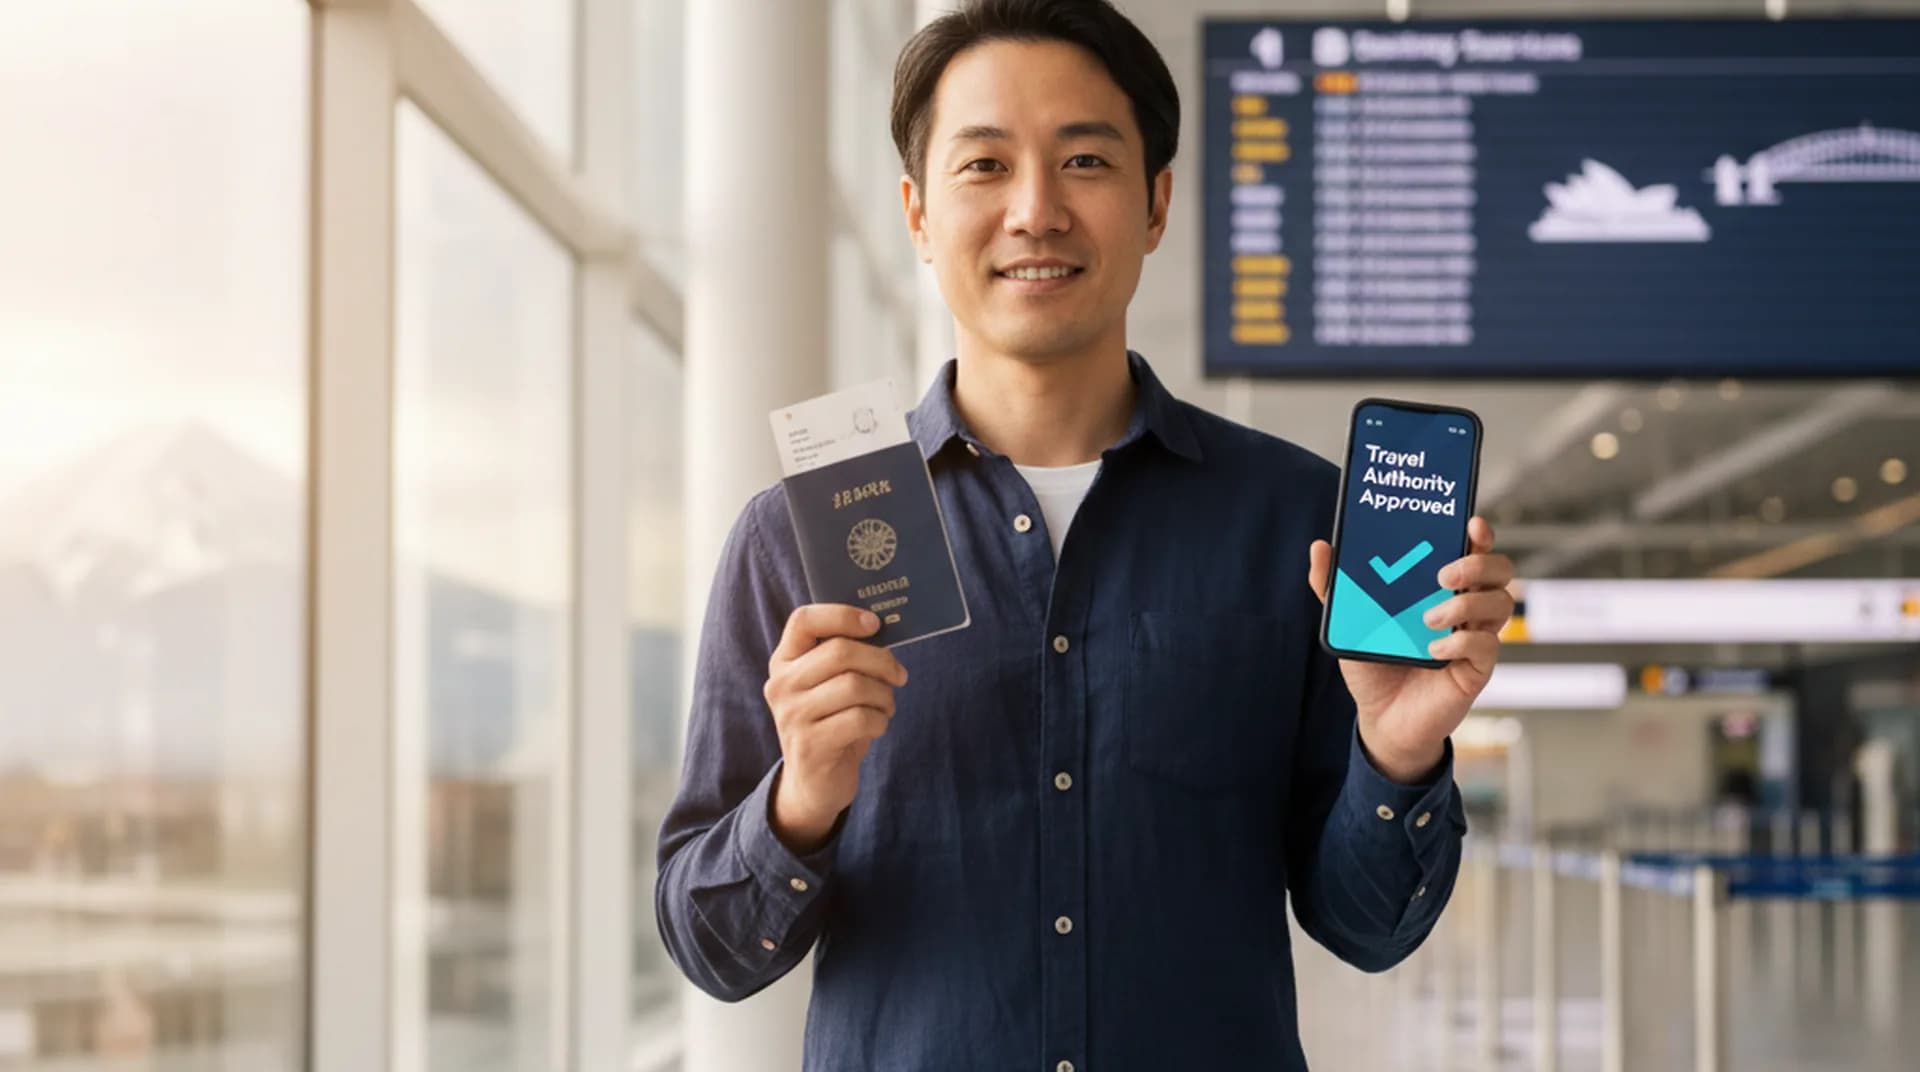
When the Australian ETA app keeps rejecting your selfie, the cause is almost always one of three things: lighting from the wrong direction, a busy background, or glasses. The app is matching your live face against your passport, and it's strict. Here is what the Department of Home Affairs actually asks for, and the fixes in the order worth trying.
Independent guide — not a government service. Australian Visa Online is an independent information resource. We are not affiliated with the Australian Government or the Department of Home Affairs, and we do not lodge applications on your behalf.
What the app is checking
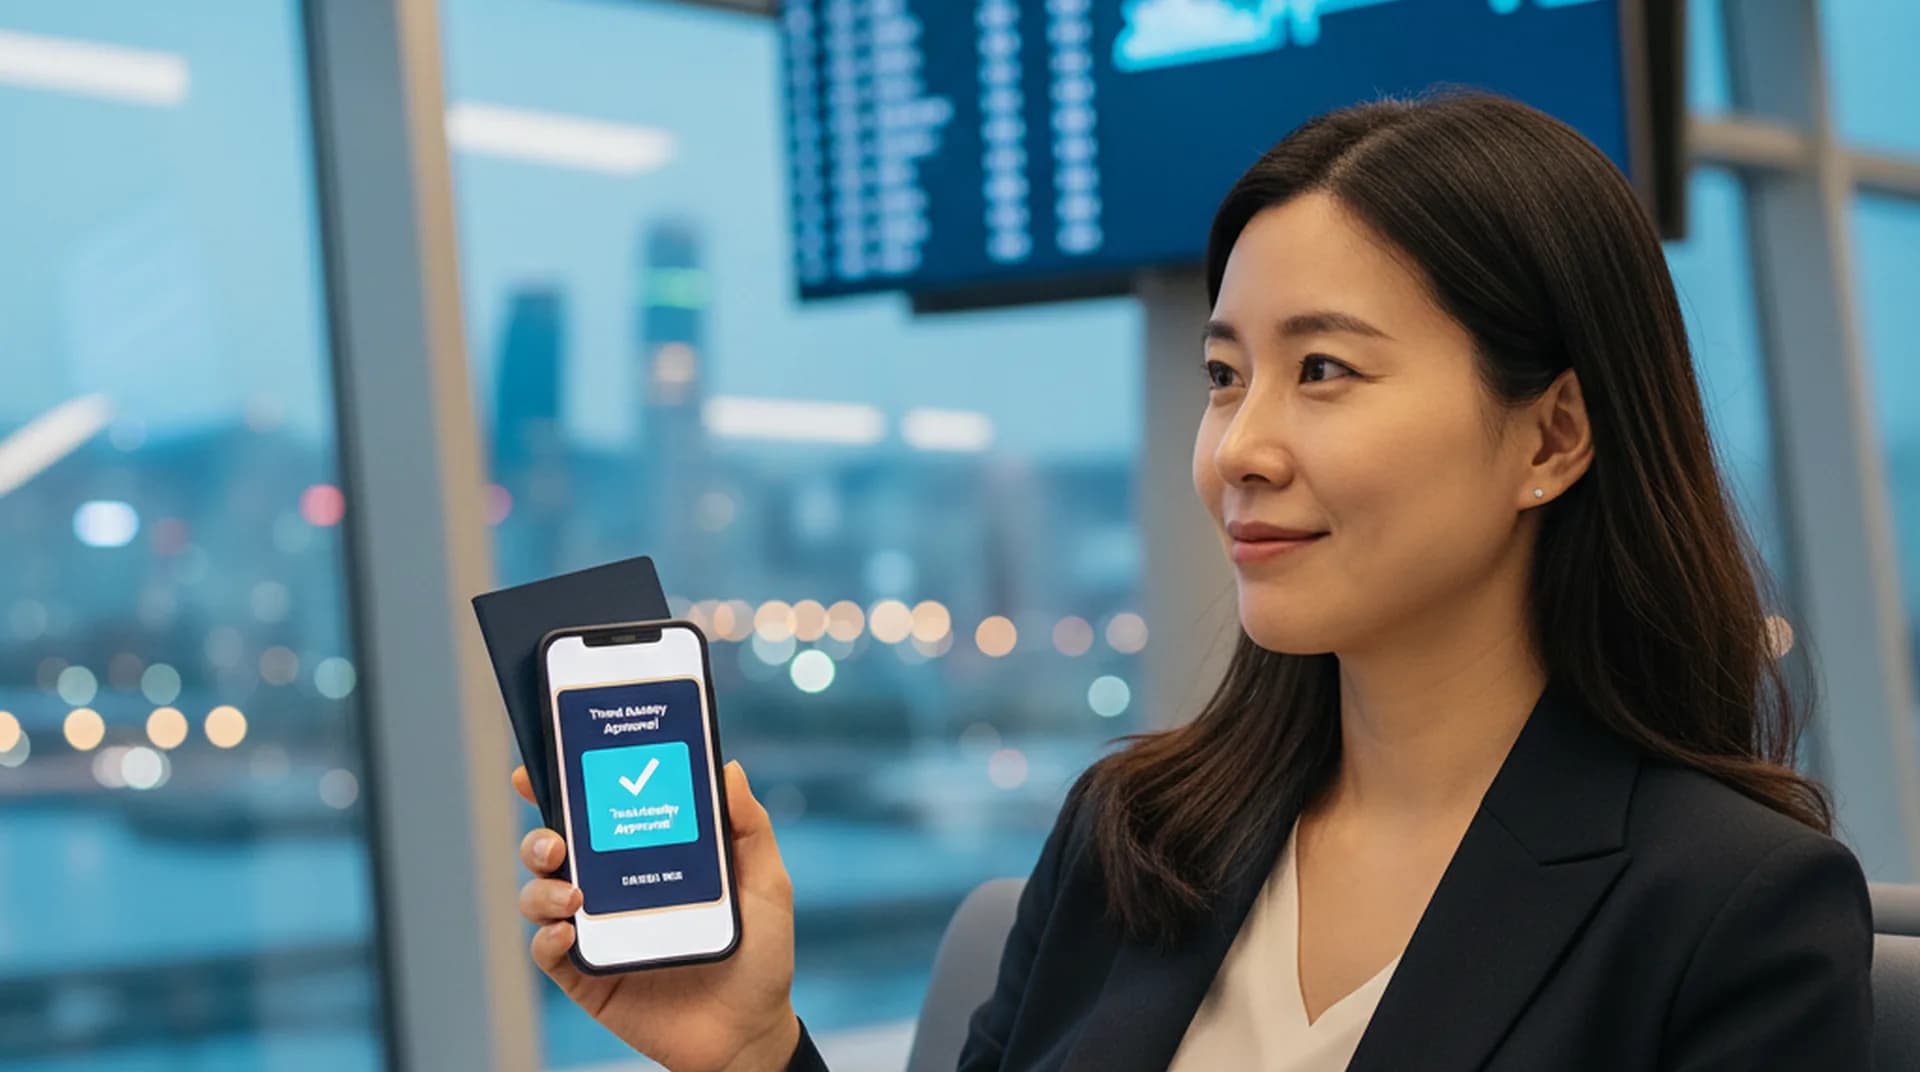
The live photo has one job: confirming that the person holding the phone is the person in the passport. It is not optional and it can't be skipped. Home Affairs states plainly that the visa will not be granted without a live image. Someone else can hold the phone, but the face in front of the camera has to be yours.
The Department's guidance for the photo step asks for a good quality, passport-style photo:
- Face the camera directly.
- Stand in front of a plain background. A blank wall beats a hotel room every time.
- Use a well-lit area, avoiding direct overhead lighting if possible. Overhead light throws shadows across your face, which makes a clean capture harder.
- Glasses are allowed, but heavy-rimmed glasses make capture difficult. The official guidance says you may need to take them off.
Fix it step by step
Step 1: Change the light before anything else
Face a window in daylight, with the light falling on your face rather than behind you. Backlighting (a window or lamp behind your head) silhouettes you; overhead bathroom lighting shadows your eye sockets. Daylight from the front, phone at eye level.
Step 2: Find a plain wall
Move so the camera sees you against one flat, light-coloured surface. Patterned wallpaper, shelves, and other people in frame all interfere with the capture.
Step 3: Take the glasses off
Even ordinary glasses catch glare from the same window you just turned toward. If you've been rejected more than once wearing glasses, remove them for the next attempt. The official guidance explicitly allows for this.
Step 4: Match your passport photo's basics
No hat, hair off your face, neutral expression, mouth closed. The closer the live image sits to the photo in your passport, the easier the match. If your appearance has changed dramatically since the passport photo was taken, expect this step to be harder — get everything else (light, background, glasses) perfect.
Step 5: If the app crashes or loops, switch phones
A persistent failure after the conditions are right is often the device, not you. App-store reviewers describe the photo step failing repeatedly on one phone and passing first try on another. You can complete the application on a friend's or family member's phone — the rule is that you must be physically with them, because the selfie has to be of you, live.
Warning: closing the ETA app deletes any application in progress. That's by design. A crash mid-selfie means starting the whole application again, including the passport scan and chip read. Budget for that before a third or fourth retry on a phone that keeps crashing.
Applying through ImmiAccount instead? Different rules
This page is about the ETA app's live selfie. If you're uploading a photo to an ImmiAccount application — a Visitor visa (subclass 600), for instance — the requirements are a different set entirely (dimensions, background colour, file size). See Australian visa photo requirements for that system.
Passed the selfie but stuck later? The payment screen and processing delays have their own rescue guides, and the full ETA guide covers the whole application.
FAQ
Can someone else take the selfie for me?
They can hold the phone, but the live image must be of you, taken at that moment. Home Affairs requires you to be physically present when anyone — friend, family member or travel agent — makes an ETA application on your behalf, and the visa is not granted without your live image.
Can I upload an existing photo instead of taking a live one?
No. The app requires a live capture at the time of application. There's no gallery upload — that's the point of the check.
Why does the app keep rejecting my photo when the lighting looks fine?
"Looks fine" to your eye and reads fine to the check are different things. Overhead light and backlight are the two usual offenders even when the room feels bright. Face a window, plain wall behind you, glasses off, phone at eye level — that combination clears the check for most people.
The camera screen freezes or the app shuts down every time. What now?
Restart the phone and try once more in good light. If it still crashes, move to a different phone — the failure is likely device-specific. You'll be starting the application from scratch either way, since the app deletes in-progress applications when it closes.