How to Apply for an Australian Visa: Step-by-Step Guide
Applying for an Australian visa follows the same general process regardless of the visa subclass — create an ImmiAccount, gather your documents, complete the application form, pay the fee, attend any required appointments (biometrics or health exams), and wait for a decision. This guide walks through every step in detail so you know exactly what to expect, whether you're applying for a tourist visa, student visa, skilled migration, or partner visa.
Quick Facts: Australian Visa Applications
| Detail | Information |
|---|---|
| Application Platform | ImmiAccount (online) |
| Website | immi.homeaffairs.gov.au |
| Payment Methods | Credit card, debit card, PayPal (for some visas) |
| Document Format | PDF, JPG, PNG — max file sizes vary |
| Processing | Varies by visa type (days to years) |
| Contact | Department of Home Affairs helpline or VEVO for status |
Step 1: Determine Which Visa You Need
Before you touch an application form, make sure you're applying for the right visa. The wrong visa subclass means a wasted fee and lost time.
Visiting Australia: ETA (601), eVisitor (651), or Visitor visa (600) — depends on your nationality.
Studying: Student visa (500). You need a Confirmation of Enrolment first.
Working temporarily: Working Holiday (417/462), Temporary Skill Shortage (482), or E-3 (US citizens only).
Migrating permanently: Skilled Independent (189), State Nominated (190), Regional (491), Employer Nomination (186).
Joining a partner: Onshore (820/801) or Offshore (309/100) partner visa.
Use the Department of Home Affairs visa finder tool to confirm the right subclass for your situation.
Step 2: Create an ImmiAccount
ImmiAccount is the Department's online portal for visa applications. Almost every visa type is applied for through this system.
How to Create Your Account
- Go to online.immi.gov.au/lusc/register
- Select "New ImmiAccount"
- Enter your personal details (name exactly as it appears on your passport)
- Create a username and strong password
- Set up security questions
- Verify your email address
Read our detailed ImmiAccount guide for tips on navigating the system and avoiding common errors.
Important Tips
- Use the exact name from your passport — any mismatch can cause problems
- Use an email address you check regularly — this is how the Department communicates
- Keep your login details safe — you'll need them to check your application status
- One person, one account — don't create multiple accounts
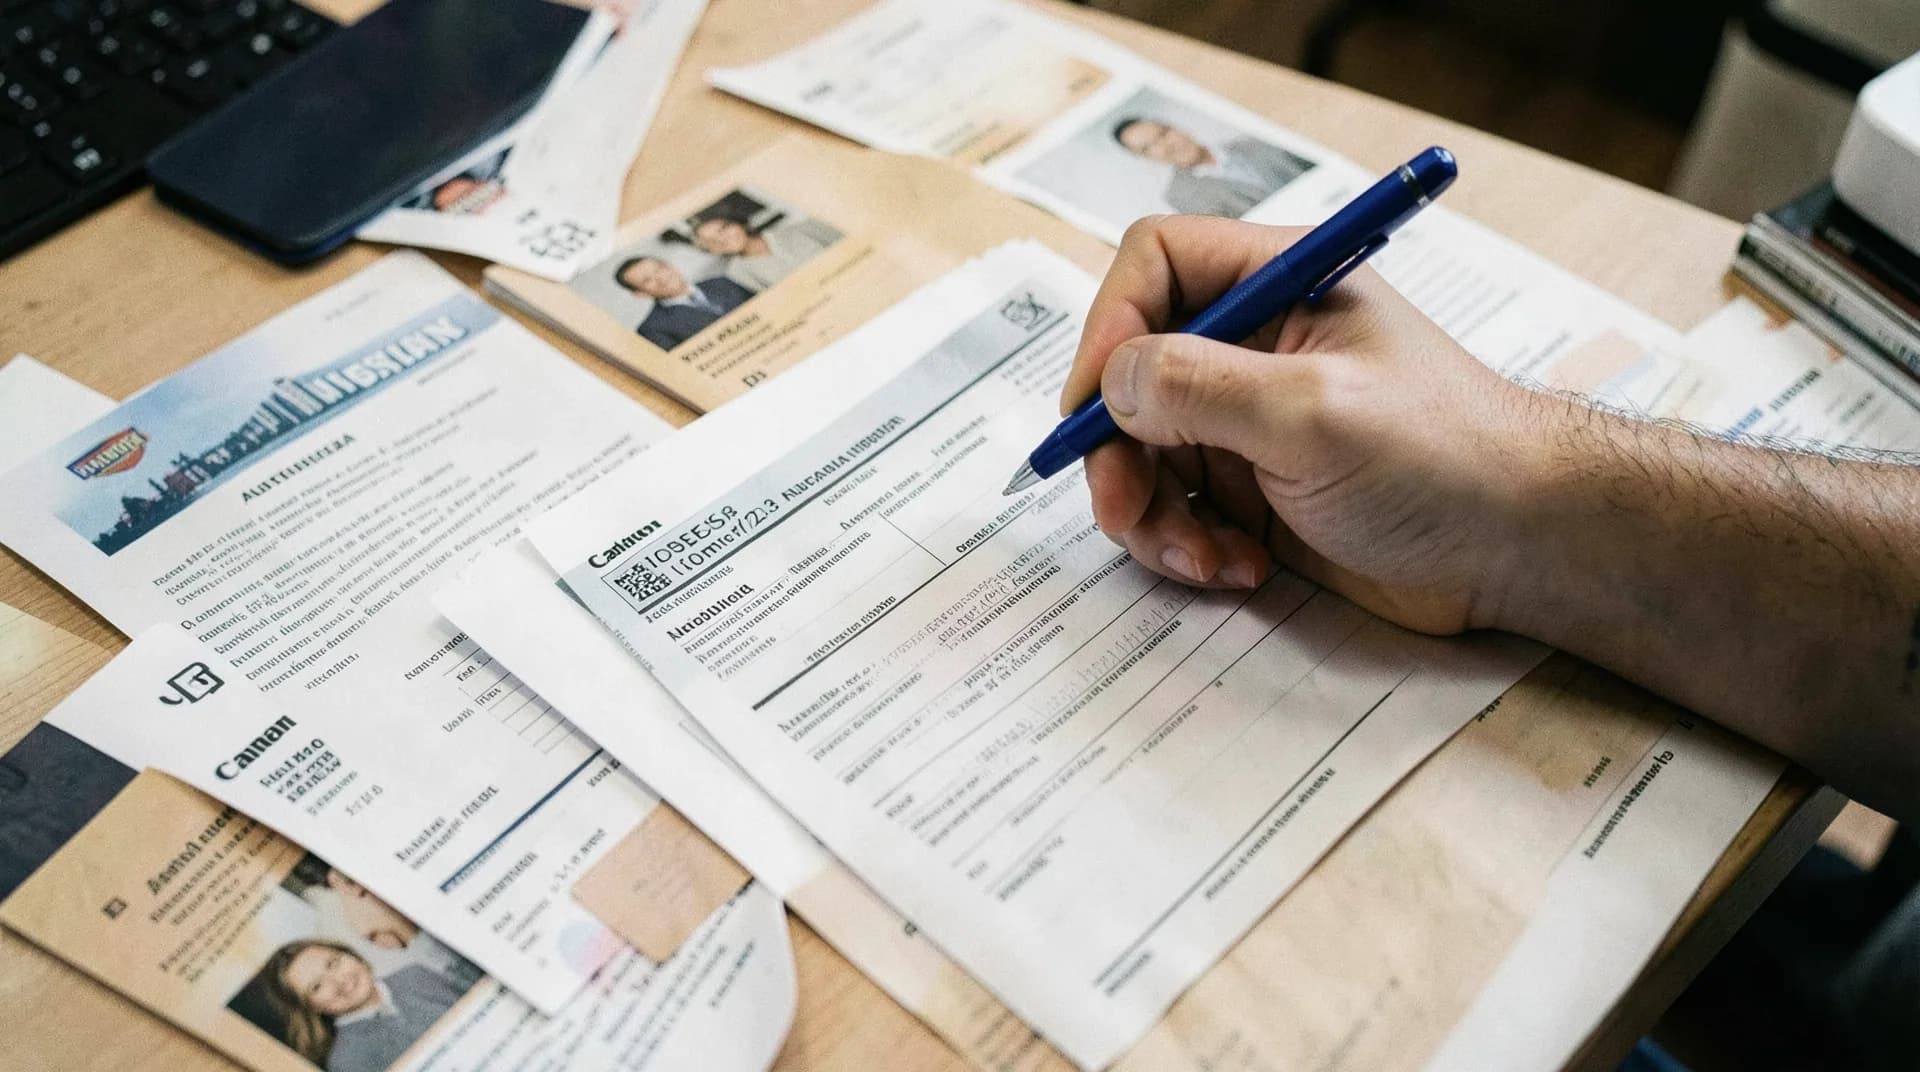
Step 3: Gather Your Documents

Document requirements vary by visa type, but some documents are universally needed.
Universal Documents
| Document | Details |
|---|---|
| Passport | Certified copy of biographical page, valid 6+ months |
| Passport photos | Recent, meeting Australian specifications |
| Birth certificate | With certified English translation if needed |
| Evidence of identity | National ID, driver's licence, or similar |
Visa-Specific Documents
Tourist Visa (600): Financial evidence, employment letter, travel itinerary, accommodation bookings, invitation letter (if visiting family).
Student Visa (500): CoE from institution, GS statement, financial evidence (AUD $29,710/year living costs + tuition + travel), OSHC, English test results.
Skilled Migration (189/190/491): Skills assessment, English test results, employment references, qualification certificates, Expression of Interest confirmation.
Partner Visa (820/801 or 309/100): Relationship evidence across four categories (financial, household, social, commitment), statutory declarations, sponsor documents.
Document Preparation Tips
- Translations: All documents not in English must be translated by a certified/NAATI translator
- Certification: Some documents need to be certified true copies (by a JP, lawyer, or notary public)
- Scanning: Scan in colour at 300 DPI minimum for clear, readable copies
- File naming: Use clear names like "Passport_JohnSmith.pdf" — not "scan001.jpg"
- File size: ImmiAccount has upload limits (usually 5MB per file, 60MB total). Compress large files.
Step 4: Complete the Application Form
ImmiAccount guides you through the application form online. The form is specific to your visa subclass but generally covers:
Personal Information
- Full name (as on passport)
- Date of birth
- Country of birth and citizenship
- Passport details
- Contact details
Travel and Immigration History
- Previous visits to Australia
- Visa refusals or cancellations (be honest — the Department can check)
- Deportations from any country
- Current visa status
Health Declaration
- General health questions
- History of tuberculosis contact
- Previous health conditions
Character Declaration
- Criminal history
- Military service
- Associations with organisations of concern
Visa-Specific Questions
- Employment history (skilled visas)
- Relationship details (partner visas)
- Study plans (student visas)
- Financial details
Critical rule: Be honest about everything. Providing false or misleading information is a serious offence under Australian migration law. It can result in your visa being refused, cancelled, or a ban on future applications. If you have a criminal conviction or previous visa refusal, disclose it — the Department will find out anyway.
Step 5: Pay the Application Fee
Fees vary dramatically by visa type:
| Visa | Fee (AUD) |
|---|---|
| ETA (601) | $20 |
| eVisitor (651) | Free |
| Visitor (600) | $430 |
| Student (500) | $710 |
| WHV (417/462) | $640 |
| Skilled Independent (189) | $4,640 |
| State Nominated (190) | $4,640 |
| Regional (491) | $4,640 |
| TSS (482) | $1,455-$3,035 |
| Partner (820/801 or 309/100) | $9,095 |
Payment is made online through ImmiAccount at the time of submission. Accepted methods include Visa, Mastercard, and in some cases PayPal. The fee is non-refundable — even if your visa is refused.
For the complete fee schedule, see our visa fees guide.
Step 6: Submit Your Application
Once you've completed the form, uploaded documents, and paid the fee, submit your application. You'll receive:
- A Transaction Reference Number (TRN) — your unique application identifier
- A receipt for your payment
- Any immediate requests (health exam, biometrics, additional documents)
Log into ImmiAccount to track your application status at any time.
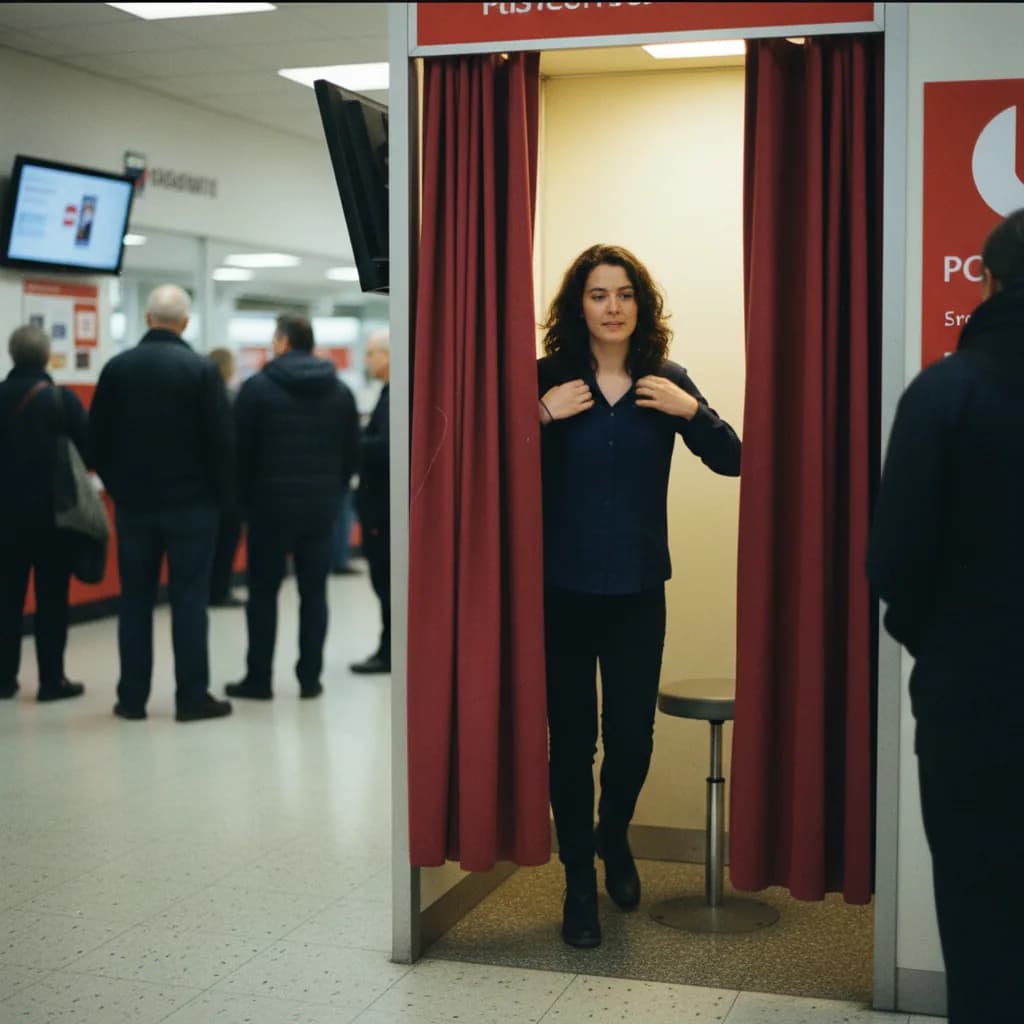
Step 7: Biometrics (If Required)
Some applicants are required to provide biometrics (fingerprints and a facial photograph). This is more common for applicants from certain countries and for certain visa types.
If biometrics are required:
- You'll receive a biometrics notification letter
- Attend an Australian Visa Application Centre (AVAC) or an Australian Biometrics Collection Centre
- Bring your passport, notification letter, and application receipt
- The appointment takes approximately 15-20 minutes
- Biometrics are valid for 10 years — you may not need to provide them again for future applications
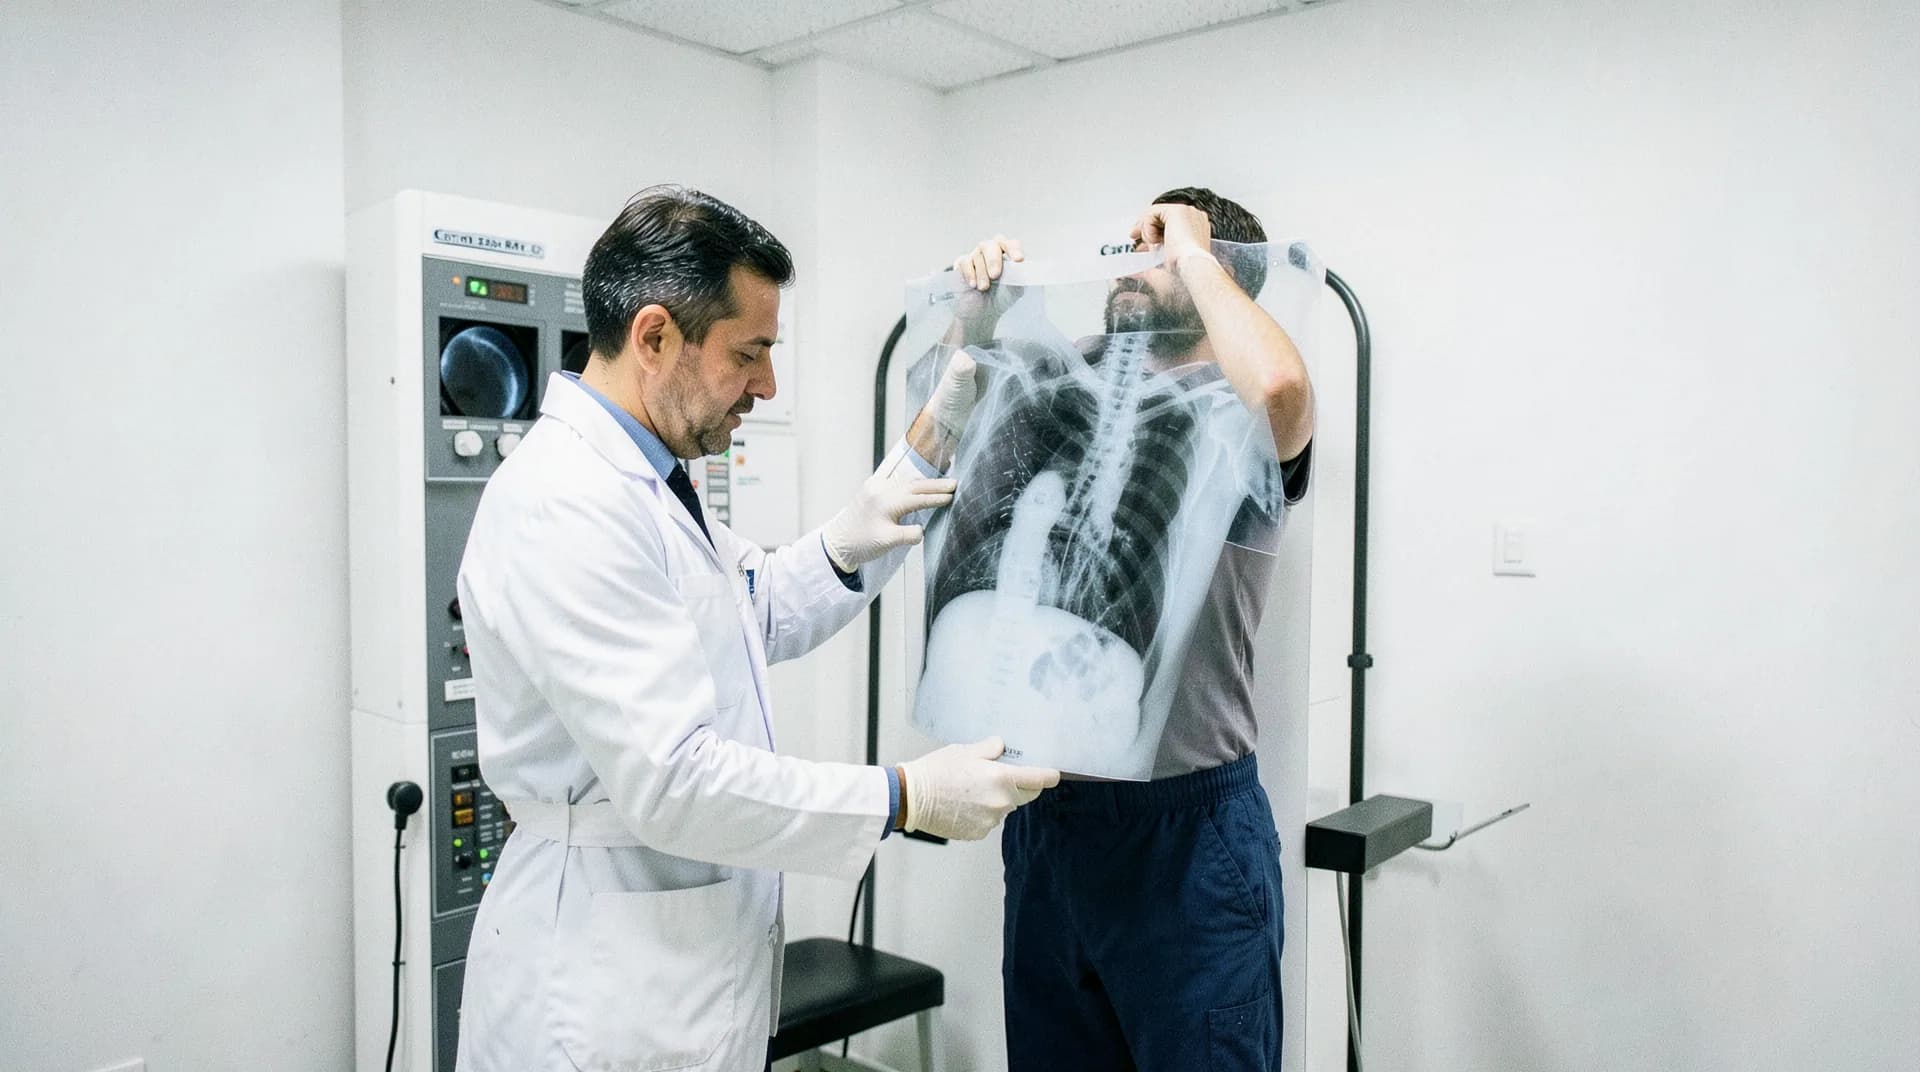
Step 8: Health Examination
Many visas require a health examination. You'll receive a HAP ID (Health Assessment Protocol identifier) through ImmiAccount.
When Is a Health Exam Required?
- Visas with stays over 3-6 months (generally)
- All student visas
- All skilled migration visas
- All partner visas
- Applicants from countries with high TB prevalence (even for short visits)
The Process
- Receive your HAP ID through ImmiAccount
- Book an appointment at an approved Bupa panel clinic in your country
- Attend the appointment with your passport and HAP ID
- Complete the required examinations (medical, chest X-ray, blood tests as applicable)
- Results are transmitted directly to the Department — you don't need to upload them
See our complete health examination guide for full details.
Step 9: Police Clearance Certificates
Most visa types require police clearance certificates from:
- Your country of citizenship
- Any country you've lived in for 12 or more months since turning 16
Common Police Clearances
| Country | Certificate | Processing |
|---|---|---|
| Australia | AFP National Police Check | 2-15 business days |
| India | PCC from Passport Seva | 2-3 weeks |
| UK | ACRO Police Certificate | 10-15 business days |
| USA | FBI Identity History Summary | 3-5 days (channeller) |
| China | Public Security Bureau certificate | 2-4 weeks |
| Philippines | NBI Clearance | 5-10 business days |
See our police clearance guide for country-by-country details.
Step 10: Respond to Requests
During processing, the Department may contact you to request:
- Additional documents: Specific evidence they need to assess your application
- Natural justice letter: A notification that they're considering refusing your application, with an opportunity to respond
- Section 56 request: A formal request for information — respond by the deadline
Always respond promptly and completely. Failure to respond to a request within the given timeframe can result in your application being refused on the basis of insufficient information.
Step 11: Decision

You'll be notified of the decision through ImmiAccount and by email. Outcomes:
- Granted: Your visa has been approved. Check the grant notice for conditions, validity dates, and any travel requirements.
- Refused: Your application was unsuccessful. The refusal letter explains the reasons. Depending on the visa type and your location, you may have appeal rights through the Administrative Appeals Tribunal (AAT).
After Grant
- Check your visa conditions on VEVO (Visa Entitlement Verification Online)
- Note your visa grant number
- Understand your travel validation dates (you may need to enter Australia by a certain date)
- Check for any conditions (e.g., "no further stay," work limitations)
Common Mistakes That Delay or Sink Applications
- Incomplete applications: Missing documents are the number one cause of delays. Provide everything upfront.
- Mismatched names: Your name must be exactly the same across all documents. If your passport says "Mohammed" but your birth certificate says "Muhammad," get a statutory declaration explaining the variation.
- Expired documents: Police clearances, health exams, and English test results all have validity periods. Don't provide expired documents.
- Lying or omitting information: The Department has access to extensive databases. Past visa refusals, criminal history, and immigration violations in other countries are often visible.
- Poor quality scans: Unreadable documents will trigger a request for better copies, delaying your application.
Frequently Asked Questions
How long does an Australian visa take to process?
It depends entirely on the visa type. ETAs take minutes. Tourist visas take 2-4 weeks. Student visas take 4-12 weeks. Skilled migration takes 6-18 months. Partner visas take 12-28 months. Check current processing times on the Department's website.
Can I check my application status?
Yes. Log into ImmiAccount to see your application status. You can also use VEVO (Visa Entitlement Verification Online) to check if a visa has been granted.
What if my visa is refused?
The refusal notice will explain the reasons and your review rights. Most refusals can be appealed to the Administrative Appeals Tribunal (AAT). There are strict time limits for appeals — usually 21 days for onshore applicants and 28 days for offshore applicants.
Can I apply for more than one visa at the same time?
Generally, yes — you can have multiple visa applications pending. However, some visa types have restrictions. Holding one visa can affect the conditions of another. Check the specific rules for your visa subclass.
Do I need a migration agent?
Not legally required — anyone can apply directly. However, for complex visas (skilled migration, partner visas, employer sponsorship), a registered migration agent can add value. See our guide on migration agents vs DIY applications.